Setting up your Email Credentials
Category: Getting Started | Published on March 18, 2025
In RentlPOS, your customers recieve a variety of emails from you. Lease Confirmations, Return Receipts, etc.
In order for those emails to be sent correctly though, you need to ensure RentlPOS is configured with your correct email server information. Generally speaking, this information can be provided by your webhost or email provider, and include the following information:
- Outgoing server (STMP) name.
- Server Port
- Username & Password
- Authentication type
This information is important for correctly sending emails through the RentlPOS platform. Once you have your server credentials (you only need the outgoing server's information), you can update it in your settings dashboard within the RentlPOS system.
Update Your Email Settings:
First, login to the RentlPOS using your admin account, and navigate over to settings.
From there, click on the "Email Settings" tab. You will then be prompted to input your email server settings:
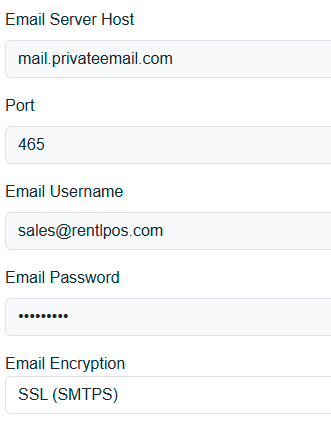
Once you've successfully entered your server credentials, click the "Save Settings" button. You should receive a success message saying that your settings have been uploaded. You are now ready to begin sending transactional emails to your customers! Note: Be sure to also set the sending address to an existing email. Otherwise you may not be able to send emails. The address that the emails are sent from must exist on your email server.